Phone:
+86 13828 600940
Physical address:
No.8Liyuan Road, Bogang community, Shajing Street Baoan District, Shenzhen, China
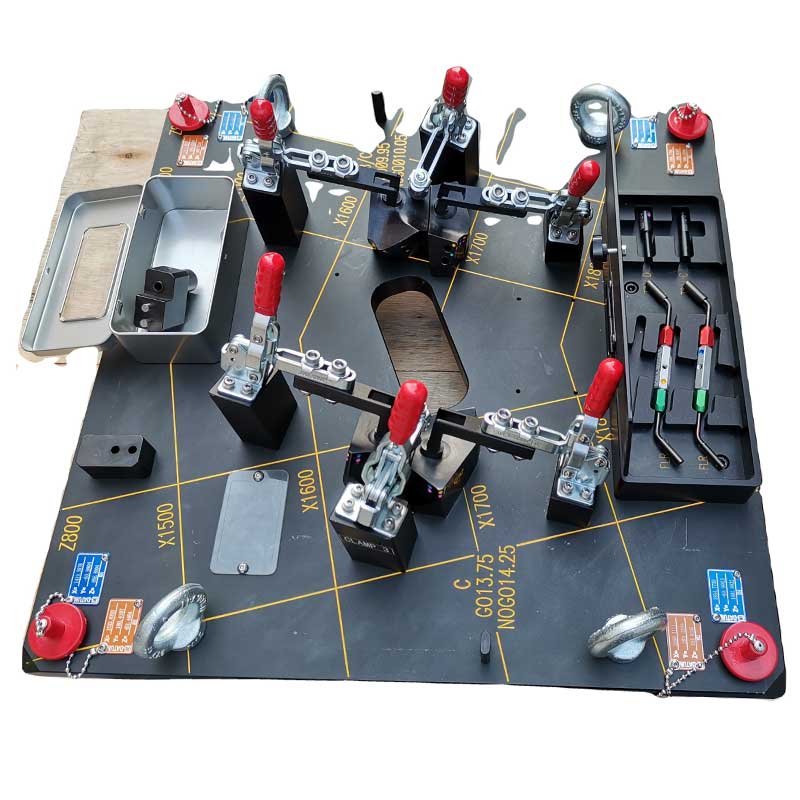
In the development and production of motor vehicles, automotive gauges are an efficient quality control tool. Automobiles are composed of thousands of parts, produced by an industrial chain consisting of automobile manufacturers and component suppliers. Quality issues are inevitable during the development and production process. When quality issues arise, gauges serve as a good quality judgment standard to assist in problem analysis. This may require component suppliers to transport Checking Fixtures to the automobile factory for certification. The measuring tool also needs to be regularly retested for accuracy using a coordinate measuring instrument. In the early stage of product development, it is necessary to mount the product onto a measuring tool and move it to a coordinate measuring instrument for full-size measurement. All of these will cause the gauges to move and be transported within the automotive factory or component supplier. Therefore, quality personnel are very concerned about the weight of the Checking Fixtures and require lightweight and easy handling. This article explores and analyzes the demand and development trend for lightweight gauges from two aspects: gauge materials and structural processes.
A gauge is a specialized fixture used to inspect the dimensions of complex shaped parts, such as hole positions, peripheral shapes, segment differences, and entry and exit quantities. Automobile gauges are mainly divided into metal gauges and plastic gauges according to the material of the tested parts. According to their structure, gauges are mainly divided into clamping mechanisms, positioning pins, detection pins, detection blocks, bases, sliding or flipping detection mechanisms, handheld gauges, calibration mechanisms, and support columns. There are mainly two types of fixture bases: frame type bases and plate type bases.
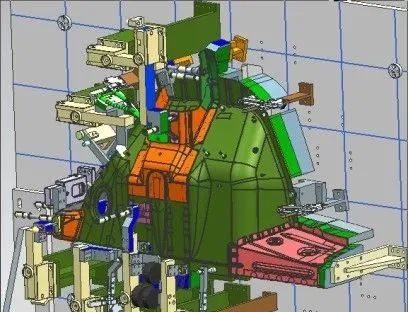
Traditional gauges generally use 45 steel as the main material. Although it has high strength and durability, it comes with being bulky and has poor mobility. With the popularization of lightweight concepts and the continuous advancement of lightweight technology, many new materials have been developed and invested in the manufacturing of Checking Fixtures, such as aluminum alloys, synthetic resins, electric wood, and carbon fiber. The new material has a much lower density than structural steel and can achieve lightweight Checking Fixtures. From the structural classification of the Checking Fixture, the detection block, support column, and base occupy the majority of the weight of the Checking Fixture, so the lightweighting of the Checking Fixture mainly starts from these three parts. The detection block only detects the size of the product. When the product is clamped on the fixture, there is a gap (usually 3mm) between the product and the detection block. Moreover, the detection block does not need to bear the weight of other parts, so the strength requirement for the detection block is not high and does not need to be made too large. However, during the process of fixture assembly and disassembly, the product may come into contact with the testing block. Therefore, the strength and hardness requirements for the testing block vary depending on different types of products and factory environmental conditions. There are mainly two situations:
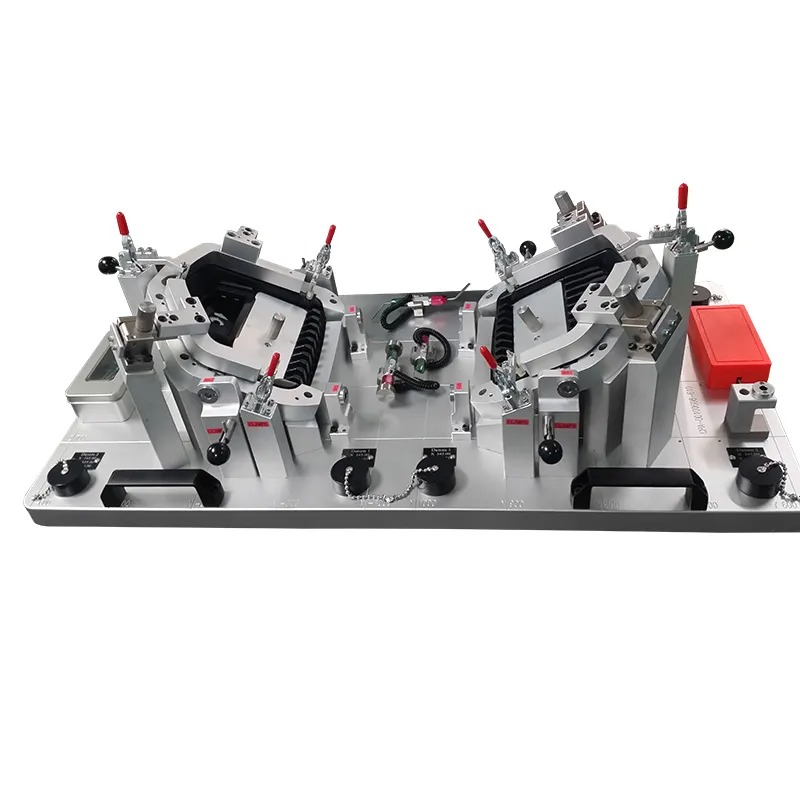
Firstly, for metal products, the factory environment is poor, and the products are prone to encountering Checking Fixtures during assembly and disassembly. It is recommended to choose structural steel for the inspection block to ensure strength and wear resistance. If there is a requirement for lightweighting and the factory environment conditions are good, aluminum alloy weight reduction can be chosen for the testing block. If there are requirements for the wear resistance of the test block, aluminum alloy can be subjected to anodic hardening treatment. If there is a high demand for lightweight, the factory is equipped with a dedicated measuring room and can choose to use substitute wood materials. The commonly used substitute wood material grades are 460 and 5166460. The substitute wood is relatively light and has low hardness, making it suitable for temporary Checking Fixtures; It is recommended to choose 5166 wood with higher density and hardness for mass production formal Checking Fixtures.
Secondly, for plastic products, due to their inherent softness, aluminum alloy or substitute wood can be chosen as the detection block to achieve lightweight. Similarly, the factory environment is poor, and it is recommended to choose aluminum alloy for the testing block; If the lightweight requirements are high and the factory environment conditions are good, the testing block can choose to use substitute wood to further reduce weight. The supporting column mainly serves as a connection between the positioning block, detection block, clamping mechanism, and the base plate. The support column needs to bear the weight of the positioning block, detection block, and clamping mechanism connected to it, so there are certain requirements for the strength of the support column, and sufficient strength needs to be ensured. If the mechanism above the support column is large and heavy, it is recommended to choose structural steel materials for the support column. In general, aluminum alloy can be chosen to reduce weight for support columns.
The fixture base is designed to support all parts and products on the fixture, and ensure that the flatness of the measurement reference at the four corners of the bottom plate is 0.1mm under its own weight. Therefore, there is a very high requirement for the strength of the base, which needs to ensure sufficient tensile and bending strength. The base is generally made of four high-strength materials: structural steel, aluminum alloy, electric wood, and carbon fiber. In the first scenario, when the material of the gauge detection block is structural steel and the material of the support column is steel or aluminum alloy, the weight that the base needs to bear is very large. In this case, the gauge base must be made of structural steel.
In the second scenario, when both the gauge detection block and the support column are made of aluminum alloy, the weight that the base needs to bear is not very large, and aluminum alloy material can be chosen for weight reduction.
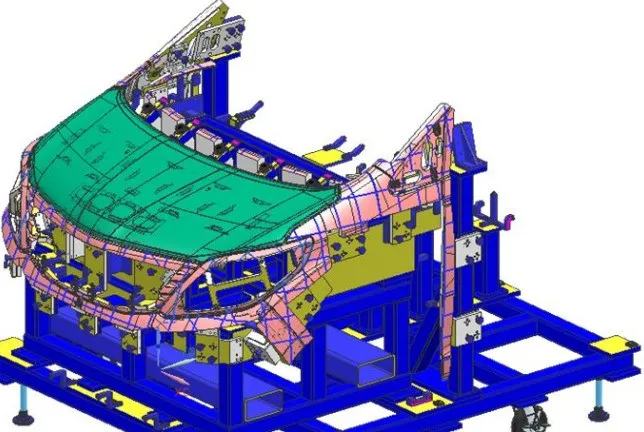
In the third scenario, when using substitute wood directly for the gauge detection block and support column, the weight borne by the base is relatively light, and aluminum alloy material can be selected. If the measuring tool is a temporary tool with high requirements for lightweight, the base can be made of electric wood material.
In the fourth scenario, there is an extreme demand for lightweight Checking Fixtures. Carbon fiber materials with high strength and low density can be selected as the frame base, and substitute wood materials can be used for the detection block. The detection block is bonded to the carbon fiber frame base through a paste resin. For example, the front windshield frame inspection of a car has a frame base made of carbon fiber material, which is bonded with paste resin instead of wood and machined into inspection blocks and support seats. The support seats can be equipped with positioning blocks and other mechanisms. The car windshield frame Checking Fixture made by this method has extreme lightweight and high strength, ensuring high precision of the Checking Fixture. The lightweight of measuring tools made of carbon fiber is undoubtedly top-notch, but the cost has also skyrocketed. If there are certain requirements for lightweight and cost considerations, it is recommended to choose aluminum alloy materials for the detection blocks, support columns, and bases of metal product Checking Fixtures; The detection blocks and support columns of plastic product Checking Fixtures are made of substitute wood materials, and the base is made of aluminum alloy material.
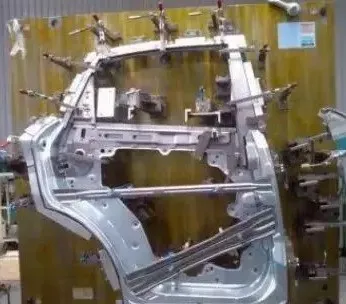
In addition to using lightweight materials to reduce weight, gauges can also be reduced in weight through structural optimization. Due to the fact that the detection block, support column, and base occupy the majority of the weight of the Checking Fixture, structural optimization will be analyzed from these three major blocks.
Firstly, the detection block is only used as a reference for measuring the size of the product and can mainly bear its own weight, so it should be designed as small as possible. In some cases, the detection block is directly connected to the base plate without the need for support columns. In this case, the detection block will be relatively large and can be hollowed out in the middle of the detection block, as shown in Figure 2.
Secondly, the supporting column needs to support the weight of positioning blocks, detection blocks, clamping mechanisms, etc., so it needs to ensure its own strength. When there are many or large parts supported by a support column, the volume of the support column will be very large. If it is made solid, it will be very heavy. Here are two structural optimization methods introduced:
(1) The support column is welded with flat plates, and reinforcement bars are welded at the overlapping of the plates to ensure the rigidity and strength of the support column, as shown in Figure 3;
(2) For the use of integrated support columns, when the volume is large, weight can be reduced by drilling holes at the bottom of the support column, as shown in Figure 4. Thirdly, the fixture base needs to support all parts and products on the fixture, and there are very high requirements for the strength of the base. If the parts on the base are not densely packed and there are empty spaces, it can ensure the strength and rigidity of the base while hollowing out and reducing weight.